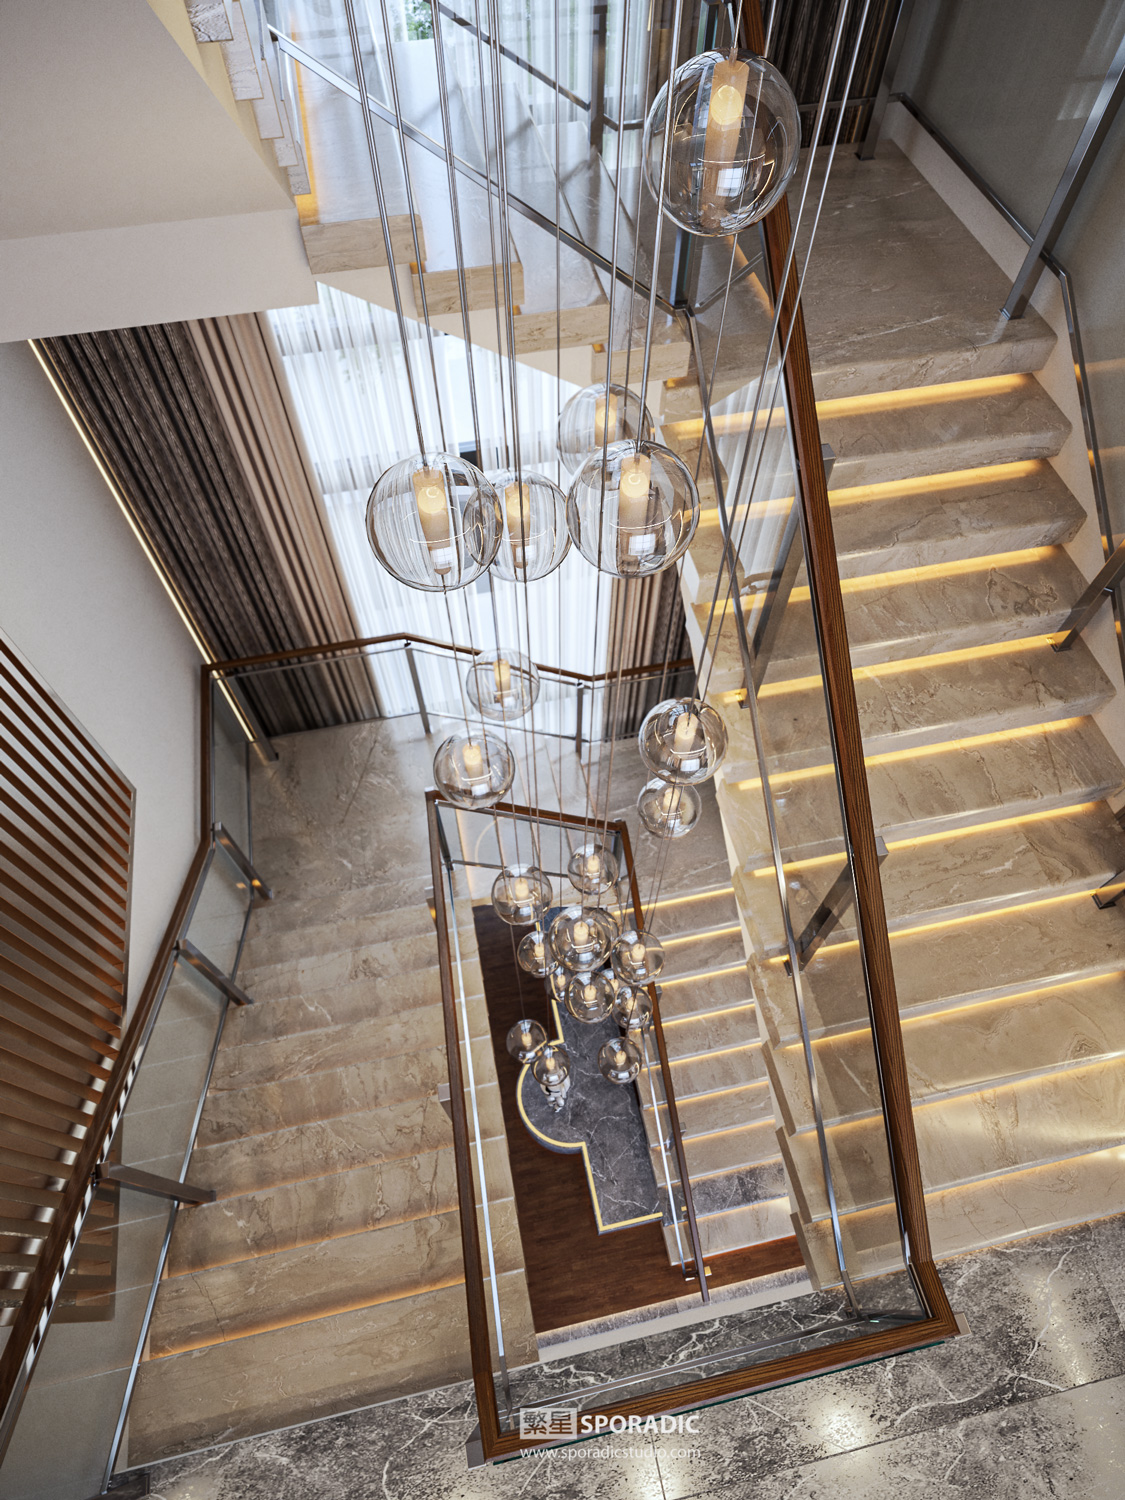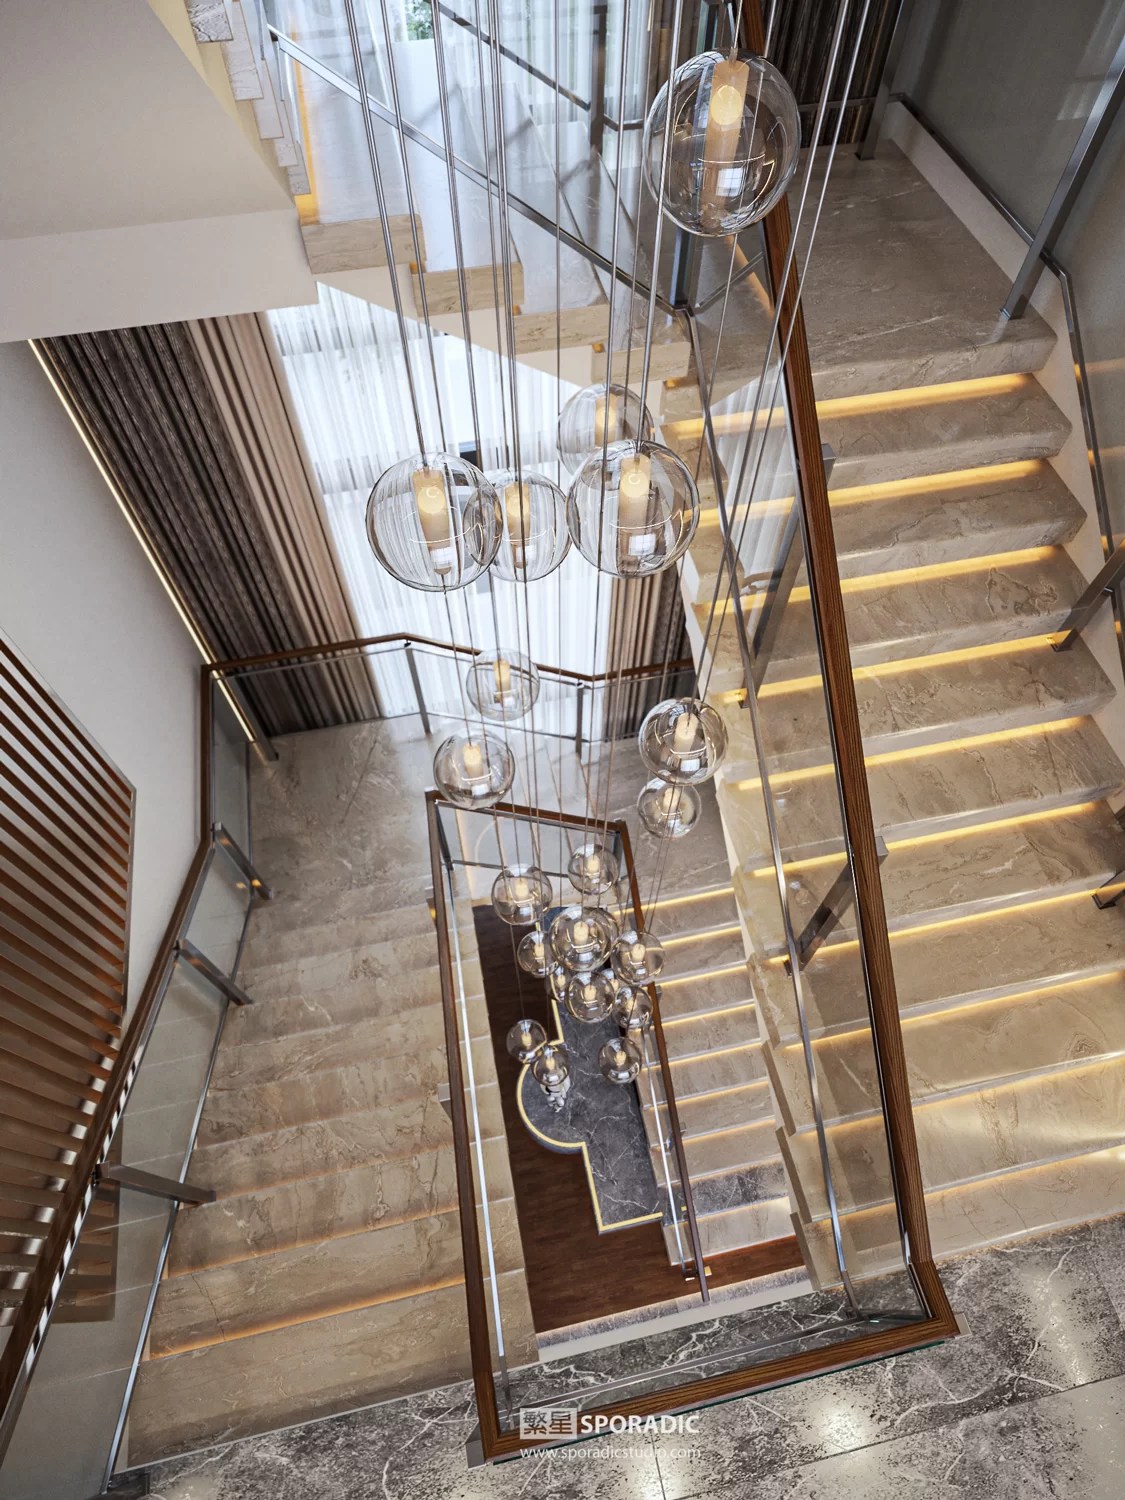
Embarking on the journey of 3D interior visualization is an exciting venture, and creating a staircase rendering serves as a fundamental aspect of this craft. In this guide, we’ll delve into the intricate process of building a staircase 3D model using Autodesk 3ds Max and enhancing its visual allure with V-Ray, the powerhouse rendering engine.

Setting the Stage with 3ds Max
Begin your staircase creation in 3ds Max, a versatile and powerful 3D modeling tool. Define your project settings, ensuring units and dimensions align with your design specifications. Utilize the basic modeling tools to establish the framework of your staircase, focusing on accuracy in measurements and proportions is important here.
Creating the Staircase Structure
Dive into the specifics of your staircase design. Whether it’s a grand spiral or a minimalist straight design, employ 3ds Max’s editable spline and extrusion tools to bring your vision to life. Adjust parameters such as step height, tread depth, and riser height with precision, laying the foundation for a structurally sound model.
Refining Details with 3ds Max
Elevate your staircase model by incorporating intricate details. Add handrails, balusters, and any decorative elements that define your design aesthetic. Leverage 3ds Max’s array and clone tools for efficiency in duplicating components, maintaining consistency throughout your model.
Material Realism with V-Ray
Transition seamlessly to V-Ray for the rendering phase, enriching your staircase with lifelike materials and lighting. Utilize V-Ray’s material editor to apply realistic textures—whether it’s the warmth of marble steps, the coolness of metal handrails, or the transparency of glass balusters. Experiment with the vast material library to achieve the desired aesthetic.
Optimizing Lighting in V-Ray
Lighting is a pivotal element in 3D interior visualization. With V-Ray, strategically position lights to emulate natural lighting scenarios. Adjust intensity, color temperature, and shadows to create a visually compelling atmosphere around your staircase. Leverage V-Ray’s physical camera settings for realistic exposure and depth.
Fine-Tuning for Realism
V-Ray’s render settings offer a plethora of options for fine-tuning your scene. Experiment with global illumination, reflections, and ambient occlusion to enhance realism. Iteratively adjust settings, maintaining a balance between rendering time and quality to achieve optimal results.
Showcasing the Final Render
Once satisfied with your render, showcase the final masterpiece. Export high-resolution images or create immersive panoramas for a 360-degree view. Share your creation on platforms dedicated to 3D interior visualization to garner feedback and appreciation from the community.
Conclusion
By seamlessly integrating Autodesk 3ds Max and V-Ray, you can elevate your 3D interior visualization skills. Building a staircase model becomes not just a technical process but a creative endeavor, pushing the boundaries of realism and aesthetic appeal in the realm of architectural visualization.


